
Tech - Resetting Windows Password - Editing SAM Database

Here we go again...
Day starts 'finds server that x person from years back built..'
Eh?! Username & Password!? Lets check documentation! No username or password for that server was saved.... Shit.

No, but seriously how to sort this?
NOTE:
I've written this guide alongside VMware 8.
If you don't know how to use VMware that's not an issue but the details may change depending on where you'd be doing this!
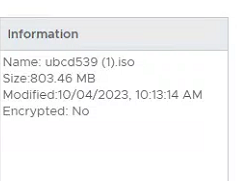
Requires: https://www.ultimatebootcd.com/ - Completely free.
Please before continuing to download and upload the ISO to vCenter or if not using VMware, use something like Rufus or balenaETCHER.
Important!
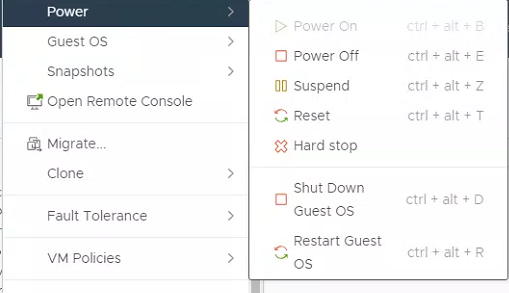
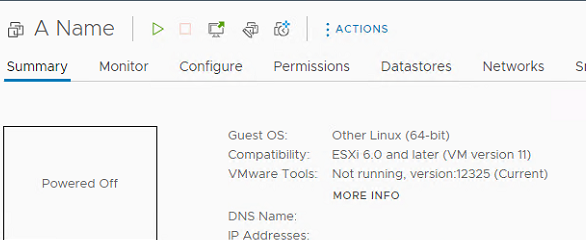
You must properly shut down, this means shutting down the Guest OS correctly. If this OS is incorrectly shutdown the file system will be marked as dirty and this process will not work.
In VMWare you can choose to shutdown the Guest OS by going to Actions> Power > Shutdown Guest OS.
Ok, now we're properly shut down!
VMWARE SECTION — Please skip to the next section if you're not using VMware.
Create a clone of the VM just in case the process does not work!
Create a 'New Virtual Machine' to avoid messing with the old virtual machine.
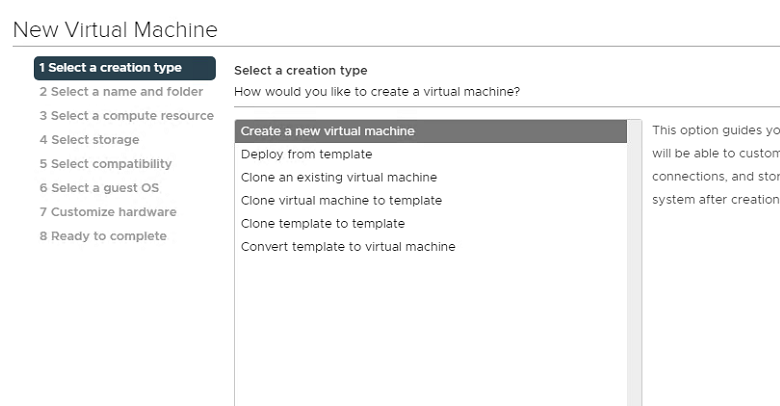
I went through stages 1,2,3,4,5 appropriately these do differ in your environment.
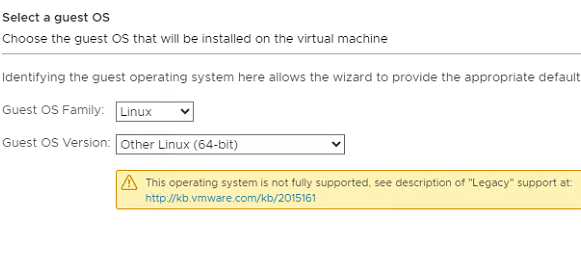
At stage 6 I chose Linux and Other Linux x64
Now let's mount the disk from the other VM, if your VM has multiple disks NORMALY it would be disk 0. This can differ depending on your configuration.
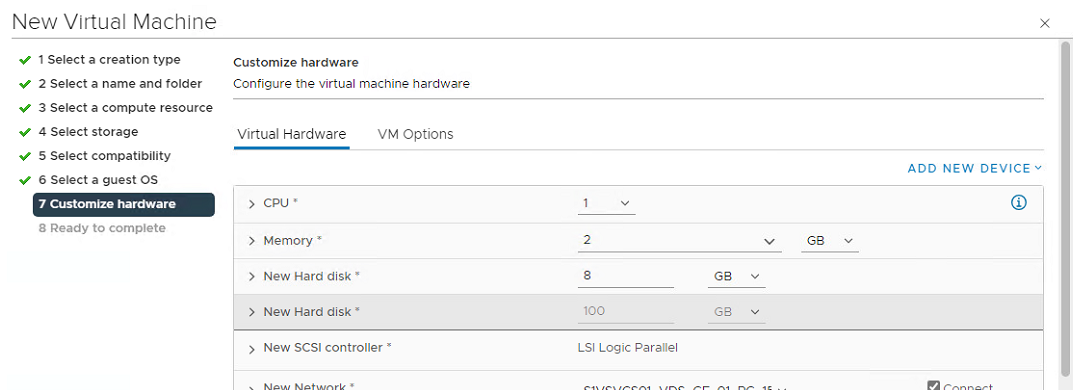
Once the disk has been added it's time to mount the ISO that we downloaded before.
All Finished, time to boot!
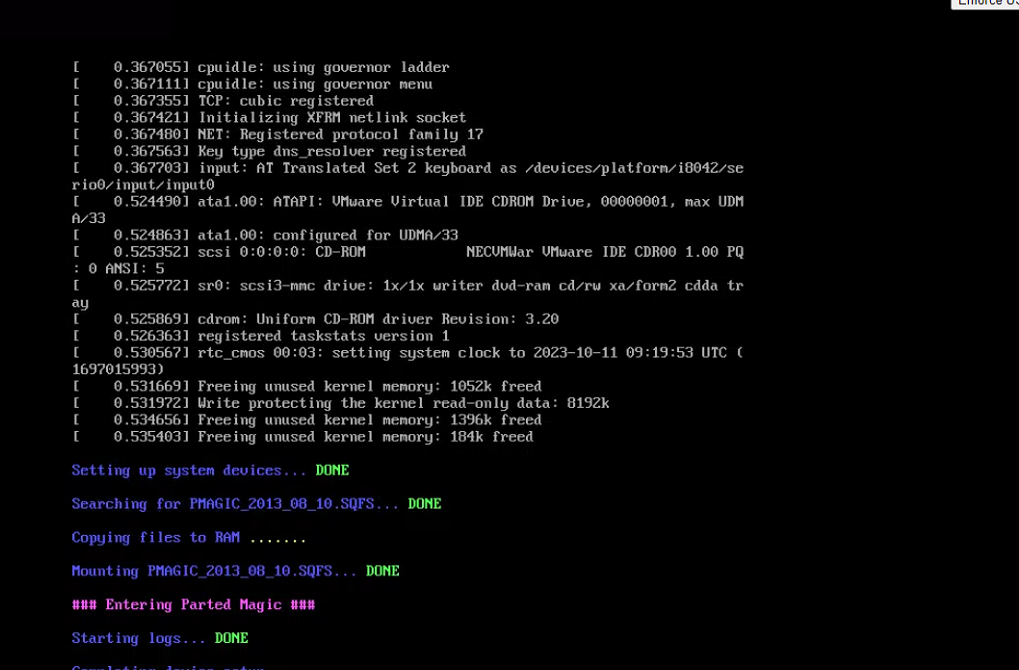
Lets Boot!
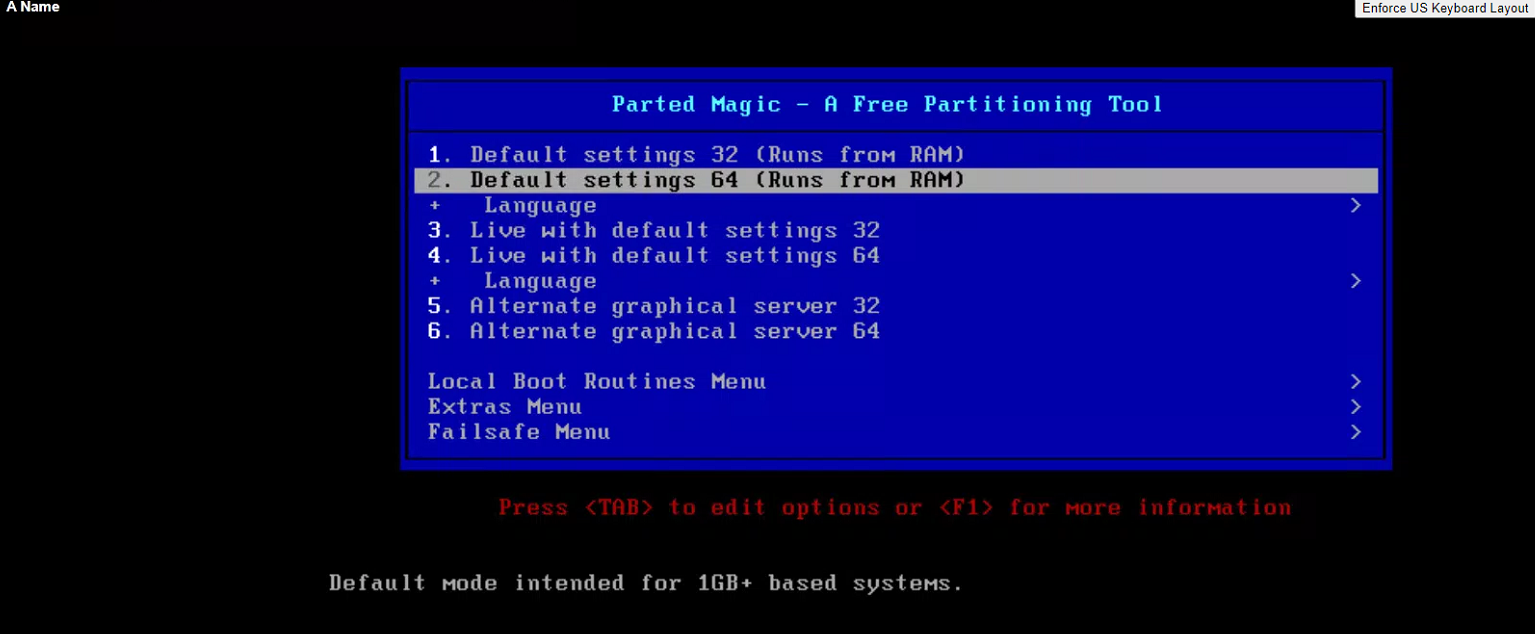
When Ultimate Boot CD starts you will be asked what settings you would like to use. I chose to use the 'x64 Default Settings'
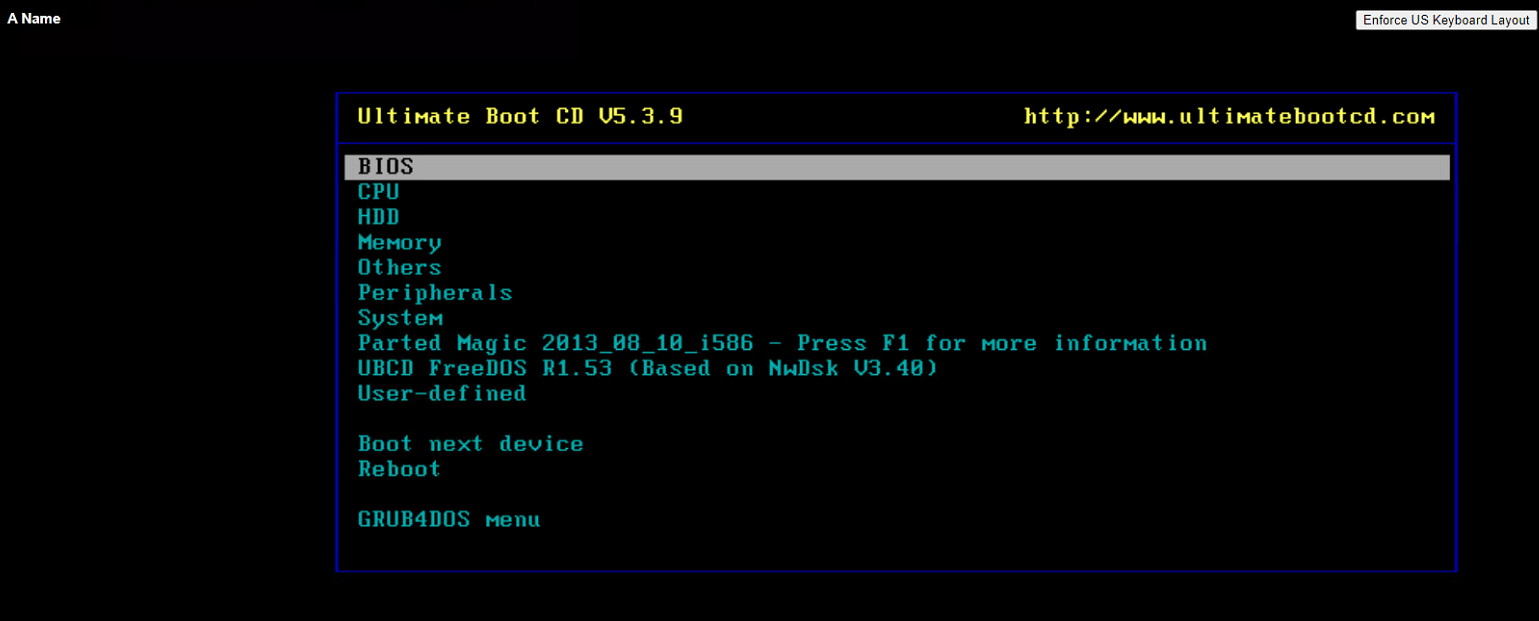
One is the image has booted. Choose 'Parted Magic 2013'

OK looks successful, we're booting Parted Magic.
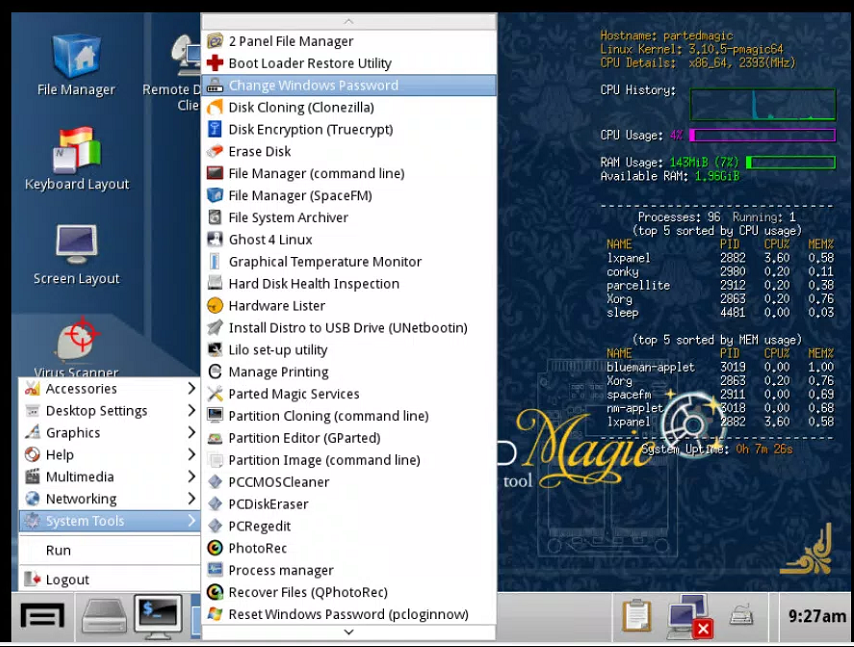
Once booted, open 'System Tools'. And then choose 'Change Windows Password'.
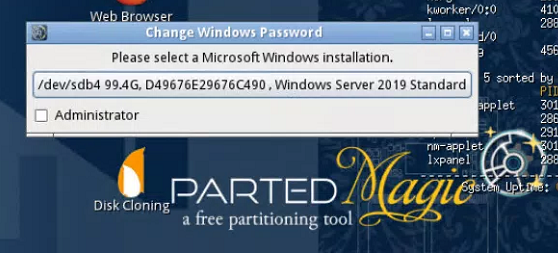
Select your Windows installation. In my case, it's mounted as /dev/sdb4 and is indeed a 'Windows Server 2019 Standard Install'
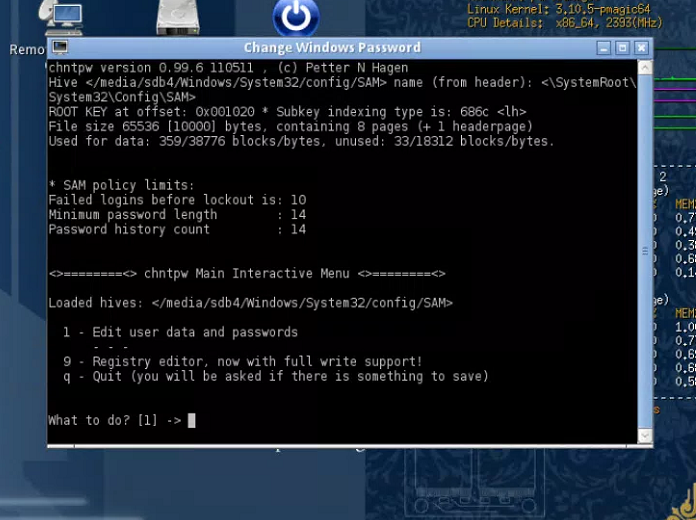
You'll be then flown into the command line. Here we want to edit the 'user data and passwords'
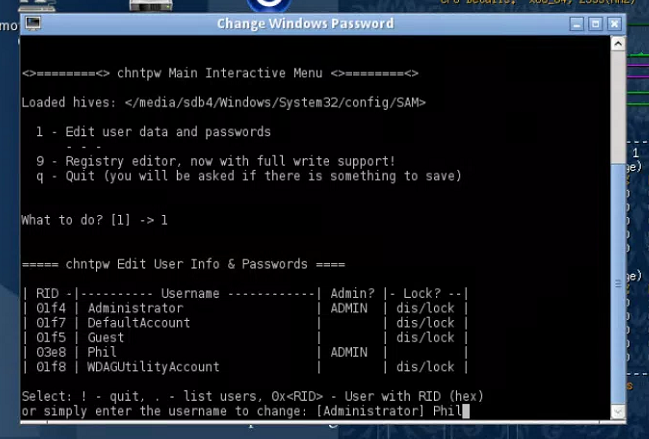
Ah! Here we have an Administrator account called 'Phil' The account is not locked!
Type the username and hit return(Enter).
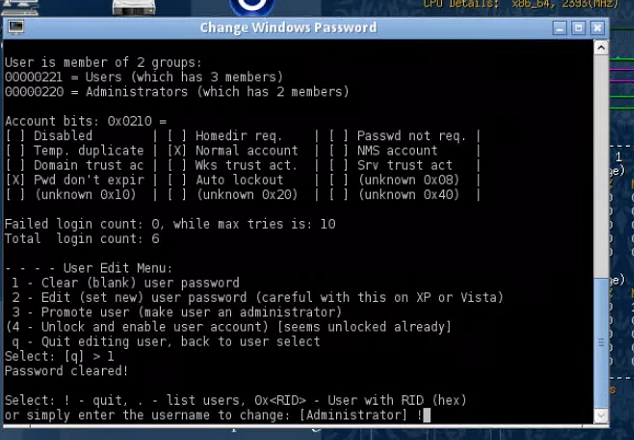
Select option 1.
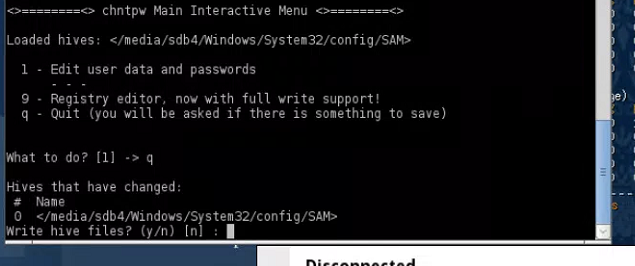
Once that has finished write the changes to the hive! (y)
All done!

Lets shutdown!
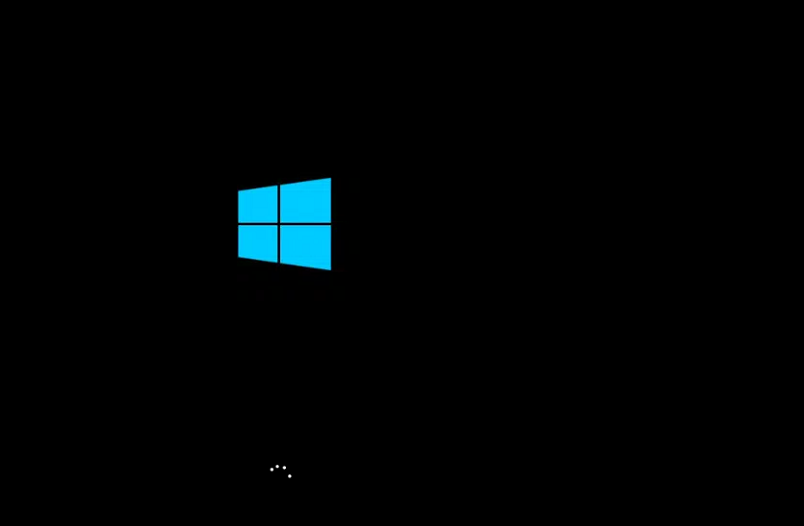
Back to the original VM (or remove UBCD). Time to boot Windows.
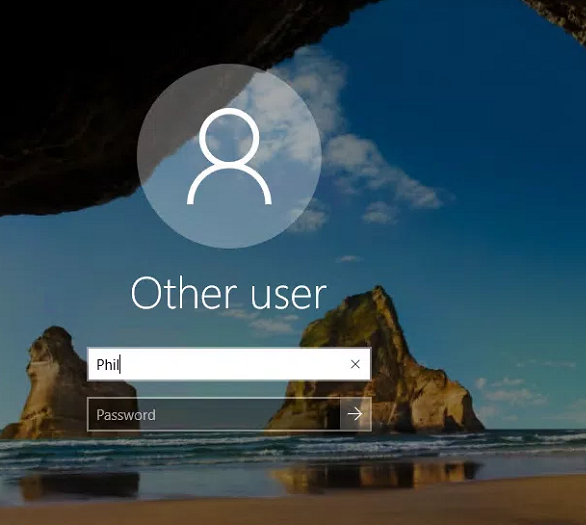
A login prompt! No Bug Checks so looking good. Let's try that user 'Phil' with no password.
Bingo!
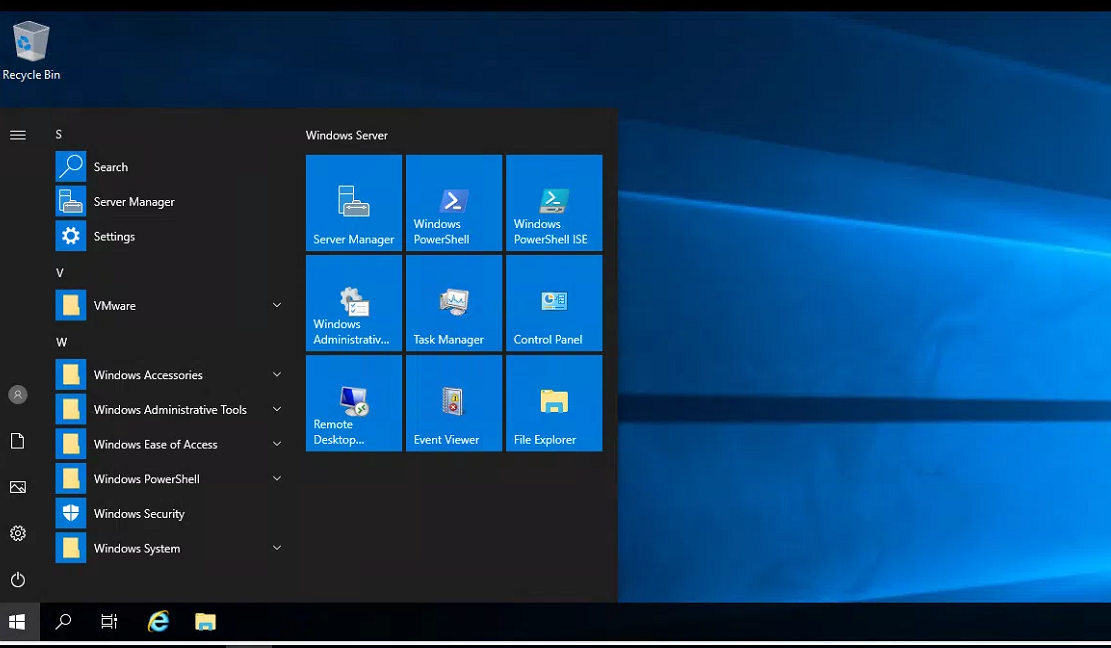
Time to open MMC and add a password to the account.
Bitch... use a password manager next time.